
7 Best Bottle Sterilizing Systems for Global Buyers?
Choosing a Bottle Sterilizing System is not just about speed. Global buyers must weigh cleaning capacity, drying time, power compatibility, water use, and the space available beside a kitchen sink. A countertop unit may suit a busy household, while a compact microwave model can fit a smaller kitchen. Yet convenience alone does not prove effective sanitizing.
Public-health guidance offers useful context. The CDC says sanitizing is especially important for babies younger than two months, babies born prematurely, and babies with weakened immune systems. Its bottle-cleaning guidance also distinguishes routine washing from sanitizing. The WHO/UNICEF Joint Monitoring Programme’s 2023 report estimated that 2.2 billion people lacked safely managed drinking-water services in 2022. That figure is not a sterilizer-market measure, but it highlights why water quality and local conditions matter to buyers.
“Hand washing is the single most important means of preventing the spread of infection,” says infection-prevention expert Dr. William Schaffner. His reminder is relevant to handling bottles, not a claim that any machine prevents illness. Small details count. Can the parts be disassembled easily? Does the drying cycle leave moisture in narrow bottle necks? Are replacement components available locally? This guide compares seven systems through those practical questions, alongside published product specifications and public-health guidance. Some choices will still depend on household needs; “best” is not universal. A clear comparison can help buyers choose a system they can use correctly, day after day.
How Bottle Sterilizing Systems Work
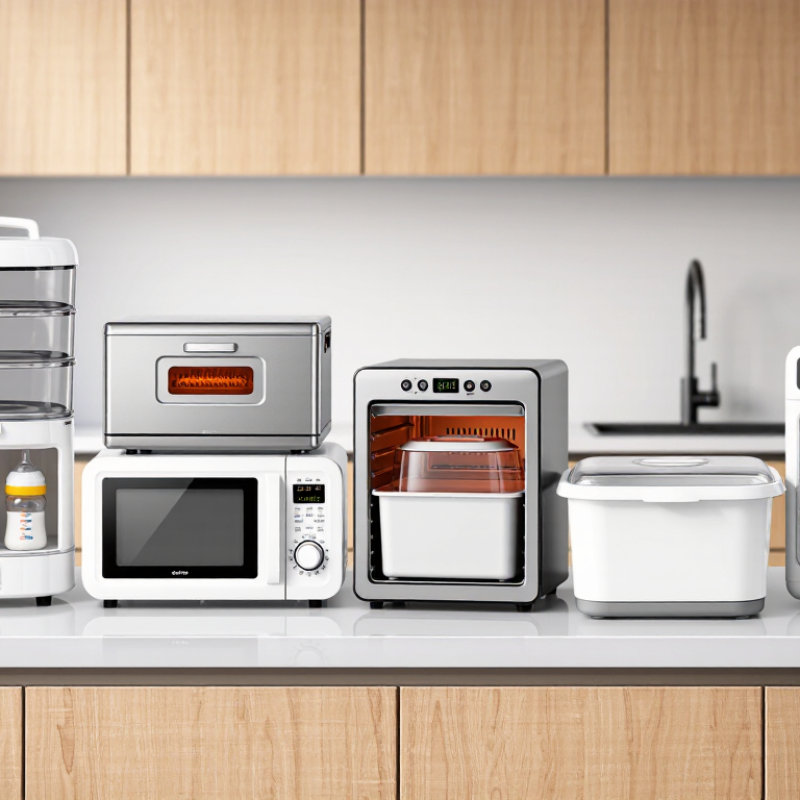
A bottle sterilizing system works by exposing cleaned feeding parts to heat, steam, or ultraviolet light. Steam models heat water until vapor reaches bottle interiors, nipples, and small crevices. Boiling systems use hot water, while UV units use light to disrupt microbial genetic material. Heat does the work. Drying matters, too: damp parts can be recontaminated if handled or stored carelessly.
The CDC’s guidance on cleaning and sanitizing infant feeding items recommends daily sanitizing for babies younger than two months, babies born prematurely, or babies with weakened immune systems. It also notes that a dishwasher with hot water and a heated drying or sanitizing cycle can make separate sanitizing unnecessary. That is useful context, not a promise that every machine performs equally. Follow the system’s instructions, including load limits and cycle times.
In practical use, wash bottles with soap and water before sterilizing; sterilization does not remove milk residue. Keep parts separated so steam or light can reach their surfaces. Check that nipples are not folded over and that removable valves are exposed. Details matter. A timer or drying function may help on busy days, but it cannot correct poor loading. I still find this step easy to rush. A clean-looking bottle is not proof that its hidden parts were treated properly.
7 Best Bottle Sterilizing Systems for Global Buyers? — How Bottle Sterilizing Systems Work
A practical comparison of common bottle-treatment systems, their operating principles, typical cycle times, and purchasing considerations. “Best” depends on local electrical standards, water quality, bottle materials, and care instructions.
| System type | How it works | Typical treatment time | Capacity and utilities | Main advantages | Limitations and buyer checks | Suitable for |
|---|---|---|---|---|---|---|
| 1. Electric steam sterilizer | Heats water to create steam, which reaches bottle and accessory surfaces to inactivate many microorganisms. | Often about 6–15 minutes of treatment; cooling and drying can add time. | Usually holds several bottles. Requires a compatible electrical supply and water. | Convenient countertop operation; no chemical solution required; some units also dry or store items. | Check voltage, frequency, plug type, usable capacity, descaling needs, and whether parts are steam-safe. Follow the device instructions for loading. | Homes or care settings that sterilize bottles frequently and have a suitable power supply. |
| 2. Microwave steam sterilizer | Water in a microwave-safe container produces steam that treats the items inside. | Often about 2–8 minutes, depending on microwave output and the product instructions. | Typically holds a small batch. Needs a compatible microwave and enough interior clearance. | Compact, portable, and generally quick; does not require a dedicated powered appliance. | Check microwave wattage, container dimensions, minimum water level, and material compatibility. Contents and container can be very hot after use. | Small households, travel, or buyers who already have a compatible microwave. |
| 3. Microwave steam bags | A small amount of water inside a reusable or single-use bag becomes steam during microwave heating. | Usually a few minutes; exact timing depends on the bag instructions and microwave wattage. | Limited capacity per bag. Requires a microwave and a supply of suitable bags. | Lightweight and easy to pack; useful when storage space is limited. | Check reuse limits, microwave compatibility, ventilation instructions, and safe handling of hot steam. Not all bottle parts fit. | Travel or occasional small-batch treatment. |
| 4. UV-C cabinet system | Uses ultraviolet-C light to reduce microorganisms on surfaces that receive an effective dose of light. | Cycle times vary by design; commonly around 10–60 minutes. | Capacity depends on cabinet size. Requires electricity but generally does not use water. | No boiling water or steam; can be used for compatible items that must remain dry. | UV-C is line-of-sight: shadows, overlapping items, and internal surfaces can receive less exposure. Check validated instructions, cycle monitoring, and material compatibility; UV-C can damage some plastics over time. | Buyers who need a dry process and can load items so relevant surfaces are exposed. |
| 5. Cold-water chemical sterilizing solution | Uses a sterilizing tablet or liquid diluted in water; items remain immersed for the product’s specified contact time. | Often around 30 minutes, but the product label determines the required contact time. | Can treat a batch in a clean container. Requires water, correct solution concentration, and replacement at the stated interval. | No electricity or heating needed; useful during travel or power interruptions. | Follow the label for dilution, immersion, solution life, and rinsing requirements. Check local availability, approved uses, and compatibility with bottle materials. | Homes or travel situations where hot-water or electrical methods are impractical. |
| 6. Boiling-water method | Fully submerges heat-safe items in water brought to a rolling boil for the time specified by public-health guidance or product instructions. | For many public-health instructions, boiling is maintained for 5 minutes; local guidance and item instructions should be followed. | Capacity is limited by pot size. Requires a heat source, water, and heat-safe bottles and accessories. | Low equipment cost and widely accessible; useful when a dedicated sterilizer is unavailable. | Not suitable for parts that can warp, crack, or be damaged by heat. Use care when removing hot items, and check local guidance for safe handling and drying. | Occasional use or settings with limited access to specialized equipment. |
| 7. Dishwasher with a sanitize cycle | Combines hot water and detergent cleaning with a validated high-temperature sanitize cycle; it is not the same as every ordinary dishwasher wash. | Often about 1–2 hours or longer for a complete cycle; timing varies by dishwasher and selected program. | Can handle multiple compatible items. Requires a suitable dishwasher, detergent, and water supply. | Combines cleaning and sanitizing for dishwasher-safe items; convenient for larger household batches. | Check that the machine has a sanitize cycle and that bottle parts are dishwasher-safe. Place small parts in a closed basket; verify the manufacturer’s directions. | Households with a compatible dishwasher and dishwasher-safe feeding equipment. |
Global purchasing checklist: Confirm voltage and frequency, plug and socket compatibility, local safety certification, available replacement parts, language of instructions, water-quality requirements, and the treatment method recommended for the specific bottle materials. Cleaning removes milk residue; sterilizing or sanitizing is a separate step.