Resin Craft Techniques for Stunning Projects in 2026?
Resin Craft is gaining popularity in 2026, offering endless possibilities for creative projects. This versatile medium allows artists to create stunning pieces, from jewelry to home decor. As resin becomes more accessible, enthusiasts are exploring innovative techniques to elevate their work.
Many excited makers dive into the world of Resin Craft without fully understanding the intricacies involved. The material can be tricky; proper mixing and temperature control are crucial for success. Mistakes often lead to frustrating outcomes, requiring patience and practice. Artists should reflect on their processes and learn from mishaps to refine their skills.
The future of Resin Craft looks bright. Artists are experimenting with colors, textures, and even embedding objects within resin. As techniques evolve, so does the quality of the final products. Whether a hobbyist or a seasoned professional, there is always room for improvement and growth in this vibrant craft.
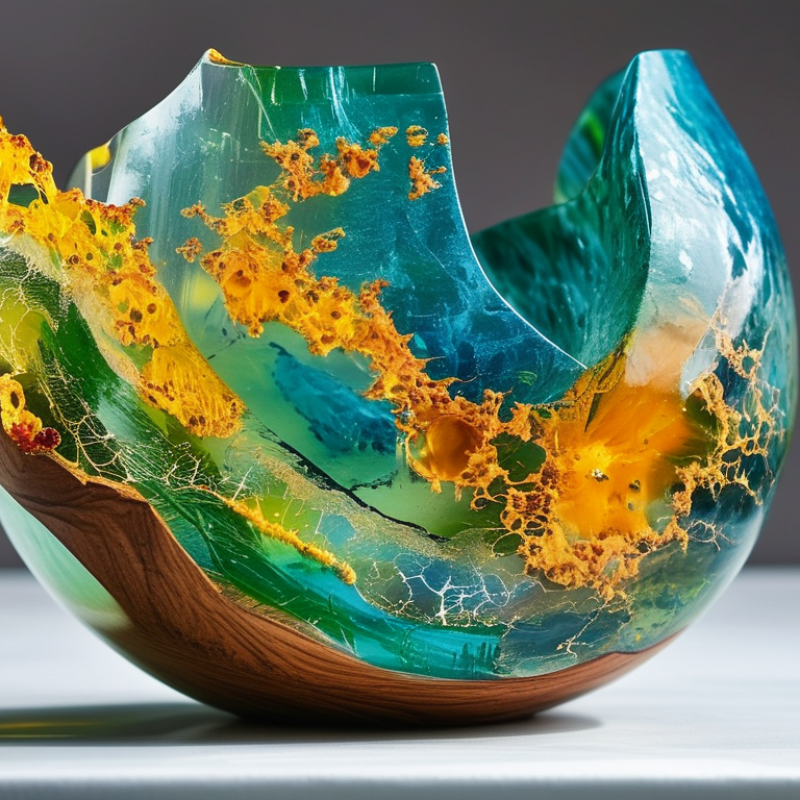
Exploring the Basics of Resin Craft: Essential Techniques for Beginners
Resin crafting offers endless possibilities for artistic expression. Beginners should focus on mastering essential techniques first. Start with simple projects like coasters or small jewelry pieces. These allow you to grasp the basics without feeling overwhelmed. Working with clear resin is a great starting point. It showcases colors and effects beautifully while minimizing the chance of errors.
Mixing resin requires precision. Measure components carefully, as the ratio affects curing. A common mistake is rushing this step. Always use a clean mixing cup and stir gently to avoid bubbles. Patience is key. Allow your mixture to settle before pouring it into molds. This helps achieve a smoother finish.
Incorporating pigments or glitter can elevate your project. Experiment with different effects, but keep it subtle. Too much can overwhelm your design. Additionally, learning to sand and polish cured resin improves the final look. Embrace imperfections; they can add charm and character. Reflect on your process after each project, noting what worked well and what didn’t. This iterative approach leads to growth and refinement in your crafting skills.
Resin Craft Techniques for Stunning Projects in 2026
| Technique | Description | Materials Needed | Skill Level |
| Color Pouring | Layering different colors of resin to create a marbled effect. | Resin, pigments, mixing cups, stir sticks. | Beginner |
| Resin Jewelry | Creating pendants and earrings using molds and resin. | Jewelry molds, resin, colorants, and finishing tools. | Intermediate |
| Embedded Objects | Placing objects like flowers or beads inside resin. | Clear resin, objects to embed, molds, gloves. | Beginner |
| Geode Style | Creating a geode effect with colored resin and crystals. | Resin, crystal chips, pigments, geode silicone molds. | Advanced |
| Surface Finishes | Applying different finishes to enhance the look of projects. | Finishing resin, sandpaper, polishing tools. | Intermediate |
Advanced Resin Craft Techniques: Layering and Embedding for Visual Impact
Layering and embedding are exciting techniques in resin crafting that create stunning visual effects. To achieve a captivating look, consider using different colored resins for each layer. This will enhance depth and add dimension to your artwork. Don’t be afraid to mix the colors slightly; unexpected combinations can lead to unique outcomes.
Embedding objects in resin can add personality to your projects. Think about using dried flowers, glitter, or even small trinkets. Ensure that your embedded items are clean and dry before adding resin. The placement of these elements is crucial; experiment with different arrangements for the best effect. Keep an eye out for bubbles that may form as the resin cures.
Be mindful that achieving perfect layers takes practice. Sometimes, the colors may not blend as you imagined. You might find that some objects sink or float unexpectedly. It’s essential to learn from these imperfections and adjust your technique. Observe your results closely to improve your skills. Every project teaches you something new about resin's behavior.
Coloring Resin: Choosing Dyes and Pigments for Unique Effects
Coloring resin can elevate your projects, giving them unique visual impacts. Dyes and pigments play a crucial role in achieving stunning results. Choose the right colorants to complement your design. Explore water-based dyes for translucent effects, or use opaque pigments for bold statements. Each option brings a distinct personality to your creations.
Mixing colors offers endless possibilities. Start with small amounts to see how they blend. Test different combinations on a scrap piece of resin first. This will allow you to adjust before committing to your main project. Remember, some colors may change when cured, so be cautious with your expectations.
Keep in mind the viscosity of your colorant. Thicker substances can affect the flow of resin. A careful balance ensures successful pours. Not every experiment will yield perfect results. Embrace imperfections as part of the creative journey. Reflection on these outcomes can lead to improved techniques in the future.
Finishing Touches: Sanding, Polishing, and Sealing Your Resin Projects
Sanding, polishing, and sealing are crucial processes for achieving high-quality finishes in resin crafting. Sanding removes imperfections from the surface, preparing it for the next steps. Use fine-grit sandpaper to gently smooth out rough spots. Start with a lower grit, like 200, and gradually increase to 1000 or finer. Careful sanding can enhance the final appearance, but it’s easy to overdo it. Mistakes are common, but each error leads to a better understanding of the material.
Polishing allows you to restore clarity and shine to your project. You can use a polishing compound or a buffing wheel to achieve a glossy finish. This part requires patience and a steady hand. Sometimes, the resin doesn’t respond as expected. Don't get discouraged; it's part of the learning curve. A small DIY polishing machine can help, but ensure you practice on scrap pieces first.
Sealing your project is the final touch. Choose a sealant that is compatible with resin for durability. A good seal protects against yellowing and increases longevity. Apply the sealant in thin layers. Thick applications can lead to a dull finish or even runs. Reflect on the process; each step teaches valuable lessons. Embrace imperfections as necessary learning experiences on your crafting journey.
Innovative Trends in Resin Craft for 2026: What to Expect and Experiment With
As we look ahead to 2026, resin craft is set to evolve in exciting ways. Innovative techniques and trends are emerging, driven by advancements in materials and tools. According to a recent report from the Craft Industry Alliance, the global resin market is expected to grow by 8.4% annually. This growth reflects a rising interest in DIY projects and personalized home decor.
One of the notable trends is the use of eco-friendly resins. Many artisans are shifting toward bio-based alternatives. These materials not only reduce environmental impact but also offer unique aesthetics. For instance, pressure-cast techniques create stunning, one-of-a-kind pieces with organic patterns. However, mastering these techniques requires practice and experimentation. Many creators find that the results may not always meet their expectations, which can be a source of frustration.
Color mixing remains a key aspect of resin art. The ability to blend pigments can lead to breathtaking effects. Data also shows that layering different colors enhances visual depth. Yet, achieving the right balance can be challenging. Beginners often struggle with ratios, leading to inconsistent results. Despite the occasional setbacks, the potential for truly captivating projects keeps artists engaged, eager to refine their craft.